Step-by-Step Guide: Installing and Hosting n8n on Ubuntu 22.04
Looking to streamline your workflows with n8n while keeping full control over your data and infrastructure? By self-hosting n8n on an Ubuntu Linux server, you not only reduce costs but also gain complete ownership of your automation environment.
In this step-by-step guide, we’ll walk you through deploying your own n8n instance using Docker along with Caddy web server for automatic HTTPS, making your setup secure and production-ready.
Before you begin, ensure that you have:
- A running Ubuntu Linux server (OVH is a great choice, but any VPS with a public IP will work).
- Basic familiarity with SSH commands to access your server.
Step 1: Update Your Server
# hostnamectl set-hostname n8n.inboxlines.com

# sudo apt-get update


Step 2: Docker Installation
# sudo apt-get install ca-certificates curl gnupg

#sudo install -m 0755 -d /etc/apt/keyrin

gs
#curl -fsSL https://download.docker.com/linux/ubuntu/gpg \

# sudo gpg –dearmor -o /etc/apt/keyrings/docker.gpg

# sudo chmod a+r /etc/apt/keyrings/docker.gpg

Add Docker repository:
echo \
“deb [arch=$(dpkg –print-architecture) \
signed-by=/etc/apt/keyrings/docker.gpg] \
https://download.docker.com/linux/ubuntu \
$(. /etc/os-release && echo $VERSION_CODENAME) stable” \
| sudo tee /etc/apt/sources.list.d/docker.list > /dev/null

# sudo apt-get update

Install Docker Engine and compose-plugin:
#sudo apt-get install docker-ce docker-ce-cli \
containerd.io docker-buildx-plugin docker-compose-plugin -y

Check installation:
#sudo docker run hello-world

Step 3: Installing Caddy for Automatic HTTPS
#sudo apt install -y debian-keyring debian-archive-keyring apt-transport-https curl

curl -1sLf ‘https://dl.cloudsmith.io/public/caddy/stable/gpg.key’ \
| sudo gpg –dearmor -o /usr/share/keyrings/caddy-stable-archive-keyring.gpg

curl -1sLf ‘https://dl.cloudsmith.io/public/caddy/stable/debian.deb.txt’ \
| sudo tee /etc/apt/sources.list.d/caddy-stable.list

sudo apt update
# sudo apt install caddy -y

Edit the Caddyfile configuration file:
#sudo vim /etc/caddy/Caddyfile

Enter your domain and configure the reverse proxy. Replace “yourdomain.com” with your actual domain name:
n8n.inboxlines.com {
reverse_proxy localhost:5678
}

Restart Caddy to load the config:
# sudo systemctl restart caddy

Step 4: Running n8n with Docker Compose
mkdir ~/n8n
cd ~/n8n

Create docker-compose.yml with the following content:

services:
n8n:
image: docker.io/n8nio/n8n:latest
restart: always
ports:
– “5678:5678”
volumes:
– n8n_data:/home/node/.n8n
volumes:
n8n_data:

Now deploy n8n by running Docker compose:
#sudo docker compose up -d

Step 5: Accessing Your Self-Hosted n8n Instance.
Once everything is configured, open your domain in any modern web browser.
🔗 Navigate to: https://yourdomain.com
For now : https://n8n.inboxlines.com/
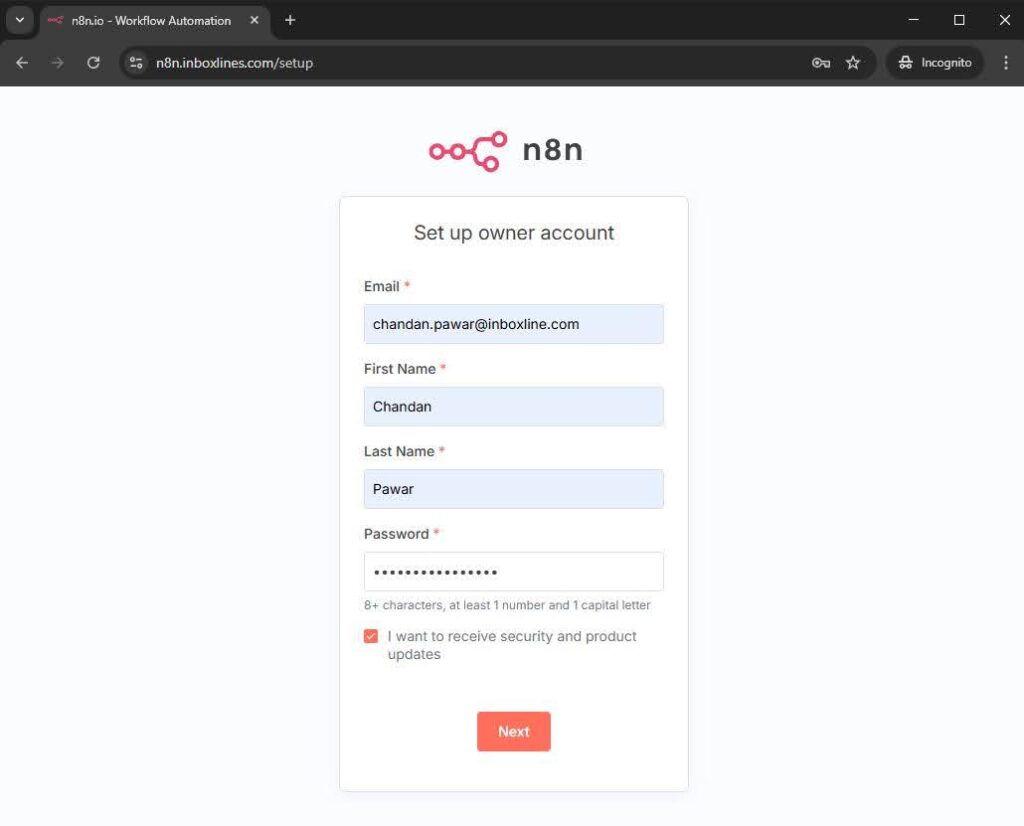
If the setup has been completed successfully, your n8n instance will load and you’ll be greeted with the initial configuration screen.

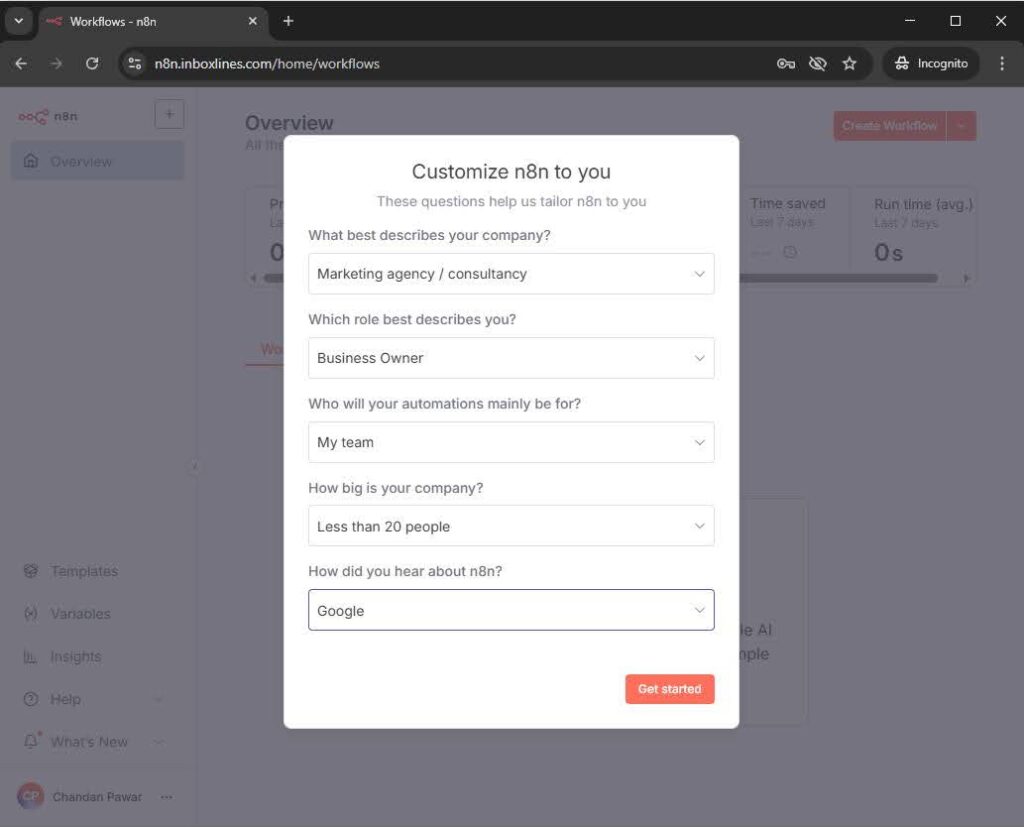
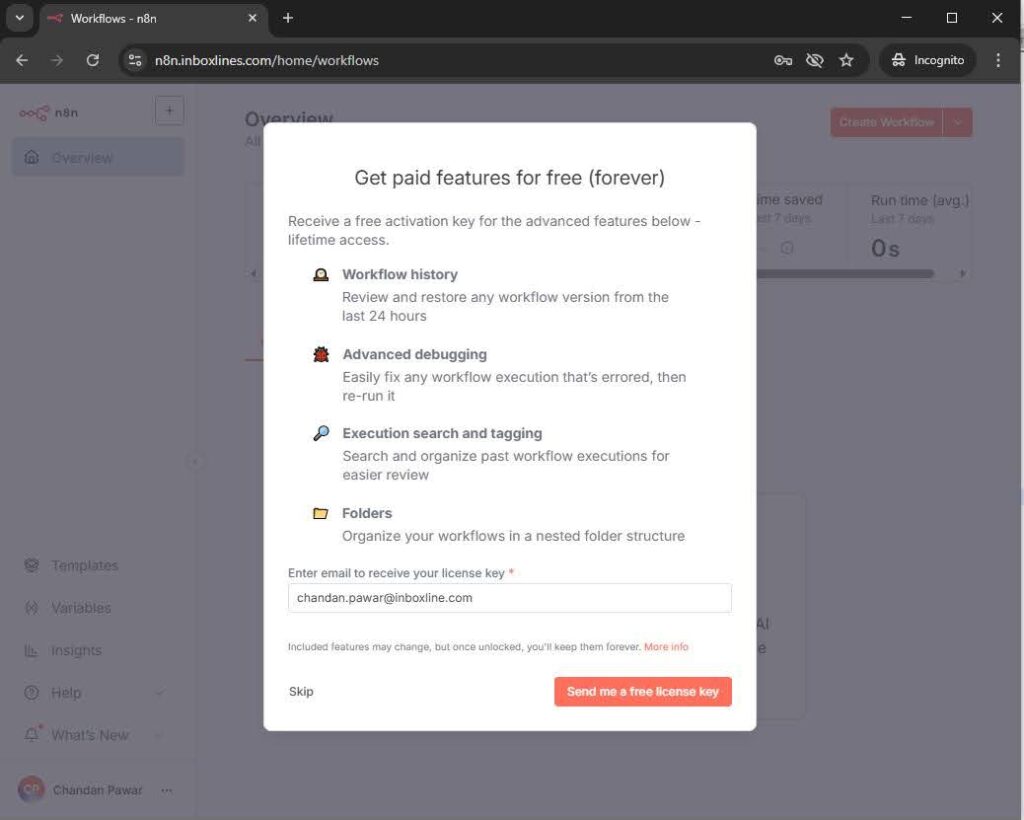
👉 Follow the on-screen instructions to create your account and finish the setup process.

Fill the required information.

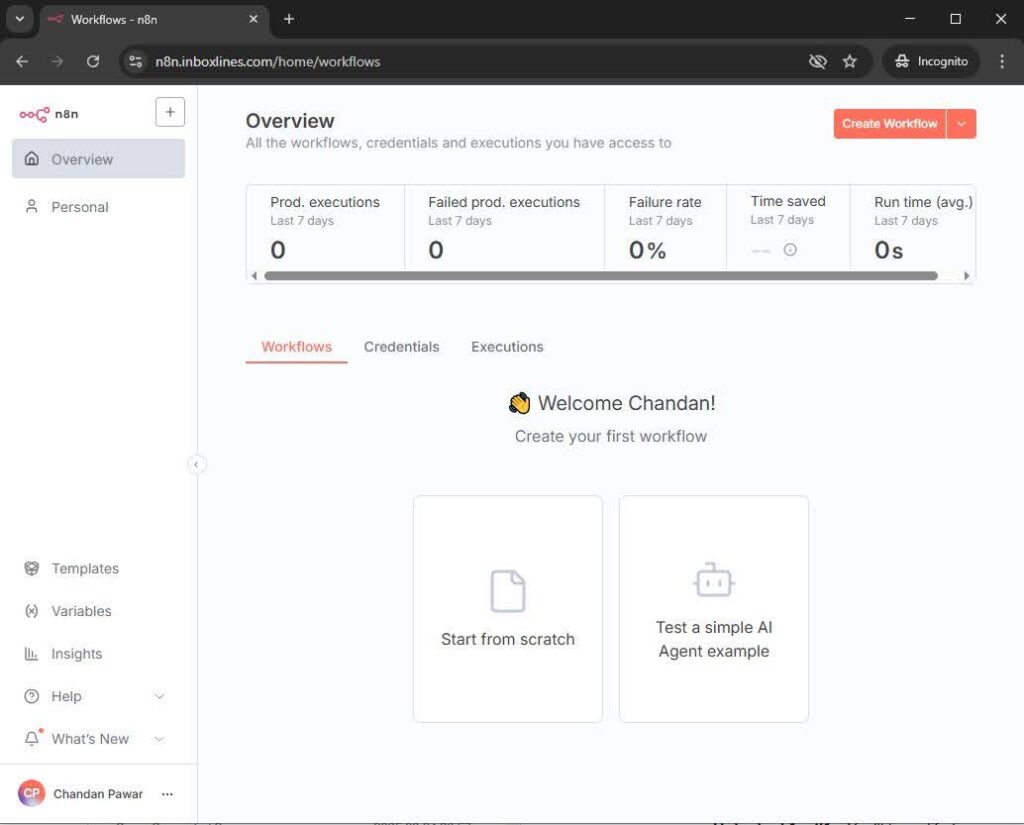
Here is the final configured dashboard :

With n8n running on your VPS, you are ready to supercharge your automation workflows. Keep exploring integrations with WordPress, Slack, Gmail, and more. Don’t forget to bookmark this blog for future reference and share it with others who might find it useful.


